5 Ways to Maximize Your Resources as an Engineer
You don't need the most expensive gear out there on the market. Pick the the option that is right for your production and that suits your personal circumstances. Whatever level you are, here are 5 ways to do just that!

Image soruce: theproaudiofiles.com
Earlier this week, we caught up with London-based engineer Mike Hillier, who has built his career on passion, perseverance and clever use of his resources. When he started out, Mike borrowed a Tascam digital recorder from a friend and with just a couple of SM58 mics he recorded his first album. A few years down the line, he would go on to work with Rihanna on songs which would later become her album, Rated R.
Read the full interview here.
If you’re only just starting out recording your own riffs, laying down some guide vocals or mixing your first EP, the chances are you’ve come across an astronomical number of tools to help you achieve your goals. Choosing the right one for right job has perhaps never been more important in today’s ever-changing shape of our industry. If you strive to be a pro, you want the best of the best for your music. Sure, you could save up and buy this compressor or wait for the discounts on summing boxes, but if you’re new to the game you might not realise that making music like the professionals does come with its own price-point. Here are 5 budget-friendly options to help you get started.
Use a Plug-in Emulation
Plug-ins are great! They come in the millions; they’re convenient and easy to use; you can run as many as your machine can handle; and they’re also more affordable compared to analog gear.
If you’re only just starting out, you might have heard of Fairchild compressors, SSL consoles and Neve EQs, but a quick Google search will soon make you realize that these units come with some serious expenditure.
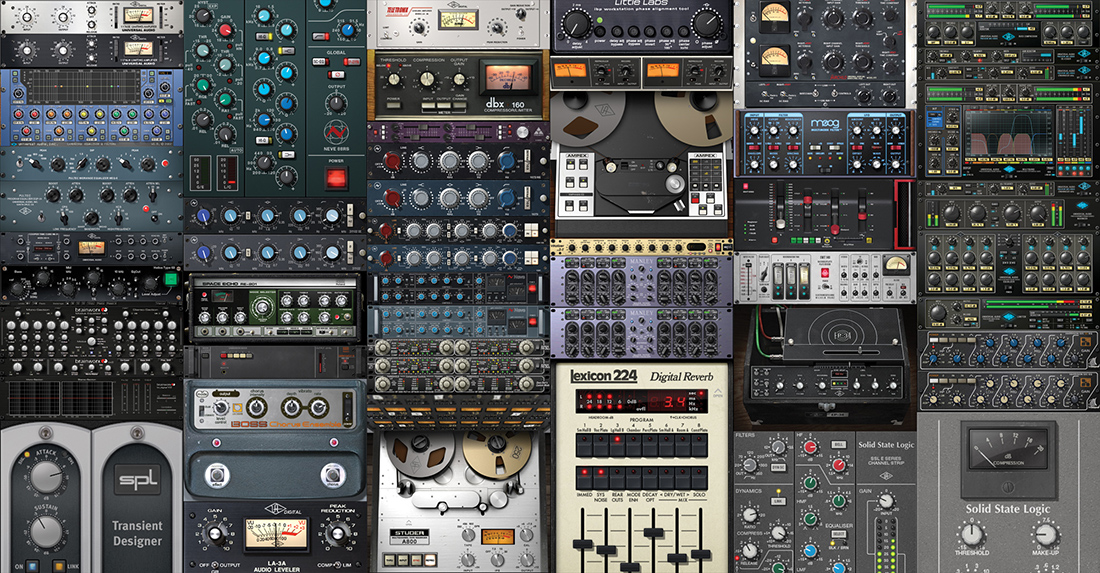
Image source: chestrockwellmusic.com
So what are the alternatives?
On the one hand, the good news is that you can use a plug-in emulation. There are hundreds and hundreds of developers out there building emulations of these classic units to meet all kinds of budgets and some even come free of charge. On the other hand, the bad news is their varying degrees of quality. While there have been many outstanding products in recent years, not every plug-in that you can readily get your hands on will perform similar to the original unit it is meant to replicate. Without going into the age-old debate of analog vs digital, it is important to understand that the digital counterparts of these classic units will sound (for better or for worse) different to the originals. From then on, it is simply a question of choice which can only be answered based on your own circumstances and project requirements.
As a beginner, plug-ins are one of the best way to start learning the characteristic sound of a Fairchild or that of a Pultec, despite the hardware/software differences. All of the big manufacturers usually have free trial periods and you should take this opportunity to get your hands on the best digital tools out there. Waves and UAD seem to dominate the higher end of the playing field so it’s worth looking into their offerings on a regular basis. Both of these having crazy sales every so often also!
One of the best ways to learn is to use stock plug-ins and compare them with your analog emulations. Do an A/B between your DAW’s EQ and a NEVE 1073 emulation for example, or try to hear the difference between your bundled compressor and the Fairchild emulation. Turn the knobs around and see what makes them special – I guarantee you will learn more by doing so then reading books or watching tutorials.
Book a Studio
You may have recorded a few demos and you’re learning your way through the tools, so you sort of know what sounds best on your tracks. The next step up would be to book a studio session. For example: you might find that spreading your tracks through the console will help the mix sound better than simply bouncing it inside your DAW.
Image source: wallpapersafari.com
There are certainly a few key benefits of using a studio over your own home setup:
-
Controlled listening environment
-
Access to good quality analog gear
-
Having a second pair of ‘ears’
Expanding on the latter, most studios will usually provide their own in-house engineers for the duration of the session to help you navigate your way through the studio and run a successful session. These guys are your friends! The in-house engineer will know how to navigate the studio and can offer you valuable insight as to what pieces of gear or techniques would work well. Depending on your level of experience, you can stick to your own choices but it pays to be open to suggestions.
One of the main drawbacks with studios is the fact that they usually come at a price: most high-end facilities can usually be out of reach in terms of budget, especially for those just starting out. But, there are plenty of recording studios out there to suit everyone’s needs, whether you’re recording a band or simply mixing a track its important to do your research and determine which studio is right for you. Another important factor is location. While places with a big music scene such as New York, LA or London are abound in recording studios, you might be based somewhere with limited access to such facilities.
Rent Gear
Depending on where you are in the world, chances are there will be rental companies sourcing equipment for live gigs. These companies will usually have an arsenal of microphones, outboard and monitoring equipment quite apart from the actual PA systems. This equipment can also be successfully used for recording (although the next challenge may be to find good acoustic spaces to record).
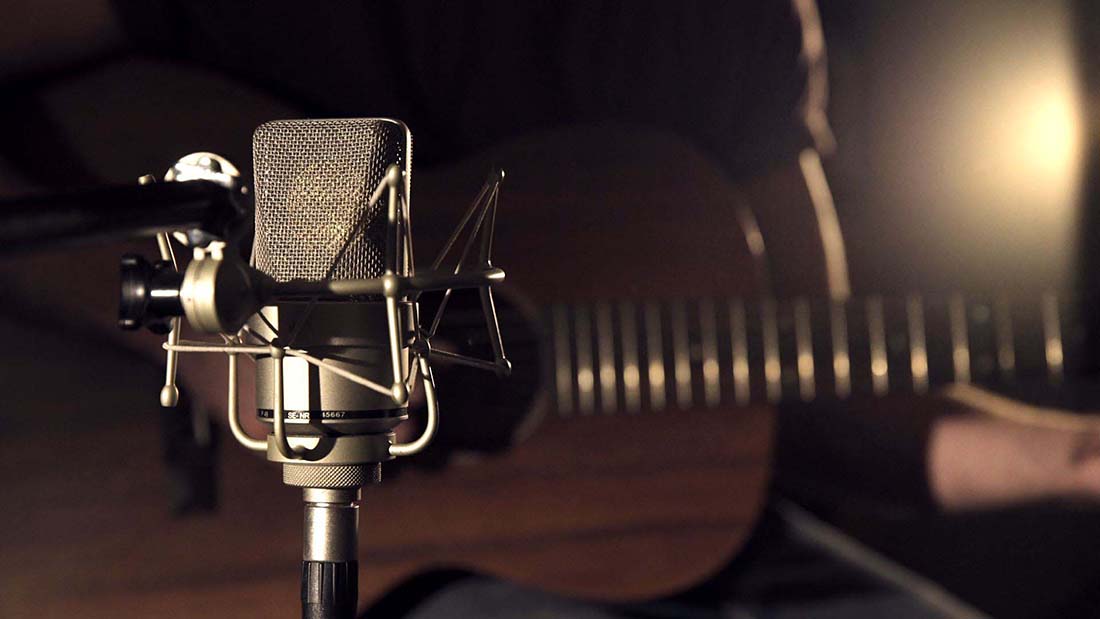
Image source: jazzrecordingstudio.com
If you fall in this category, simply rent out what you need for a few days and track your band in-the-box. A good audio interface (more specifically, a good pair of converters) is a prerequisite for a quality recording. These can usually be sourced from the rental company, or if you’re happy using your own, it’s also worth looking into the selection of external preamps on offer. For example, a Neve 1073 preamp module will certainly give you a different flavor to your built-in interface preamps.
Build Your Own
For you DIY enthusiasts out there, the internet is full of companies who will sell you the parts and instructions to build recreations of classic analog units. While these will sound close to the original, they will indeed be different. There are some benefits of investing in DIY kit: they usually cost far less than the original model, they will teach a bit about how signal processing works (provided you actually take the time to understand the instructions and not just follow them blindly), they generally sound good [Mike swears by his API replica preamp unit] and, at the end of the build, you will own the gear and will be able to use it again.
As a side note, most of these companies will either offer you the parts and instructions or a pre-built model is usually offered at a premium.
And finally... If you own your own kit, recorded in a studio, hired a few extra bits of kit and tried to mix it to the best of your knowledge, it’s time to see how it compares against commercially available records.Well? What do you think?
We recommend asking questions - find out not only how, but also why they do things a certain way and accumulate as much knowledge as you can from these guys. No book, tutorial or school will teach what you yourself can learn by working with engineers and producers of this caliber.
There used to be a time when young engineers would have to start out working long hours in the studio, making tea and coffee in the hope that one day they’ll get a chance to ‘sit in on a session’ and actually learn the craft, but now there are options to this approach. Like I said earlier, make the most of what you have – consider all your options and choose what’s right for you.